GIMP is a versatile graphics manipulation package. This page should help you get a taste of what GIMP is capable of. You can also have a look at our introduction page or browse through the tutorials.
Follow the simple steps how to convert any photos in 2D to 3D.
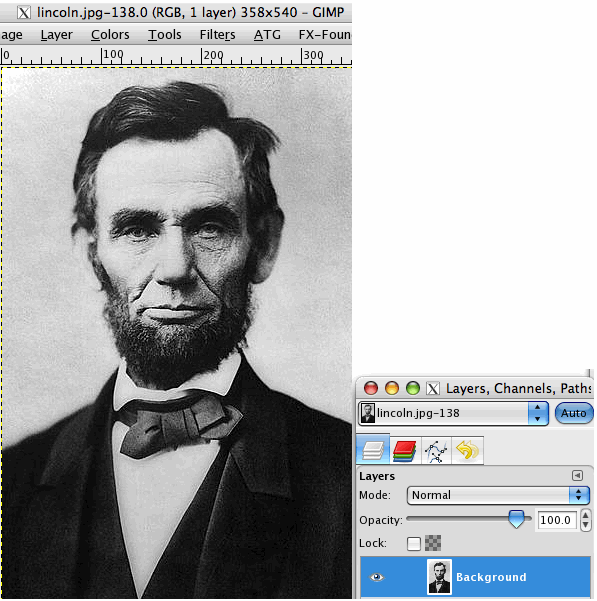
Converting a 2D portrait into a 3D portrait appears to be much easier than one would expect. Start off loading in an image like Lincoln.
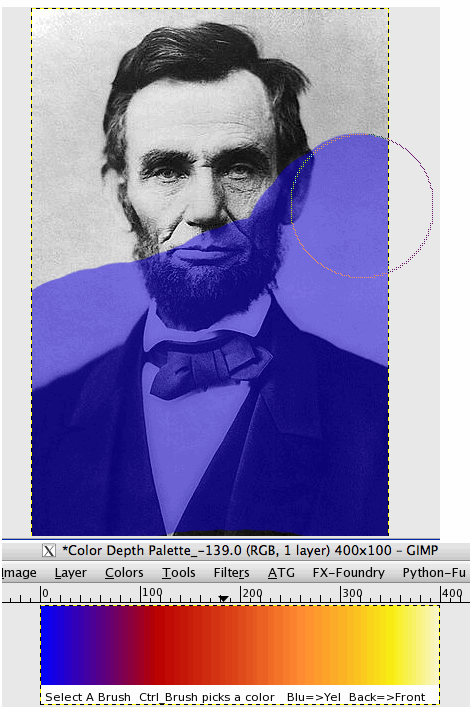
A script has been written which makes it possible to paint a color coded depth map over an image such that lighter colors are up close and darker color are far away. This map can be used to do some horizontal image shifting between the two stereo output images to make an area appear closer or farther away.
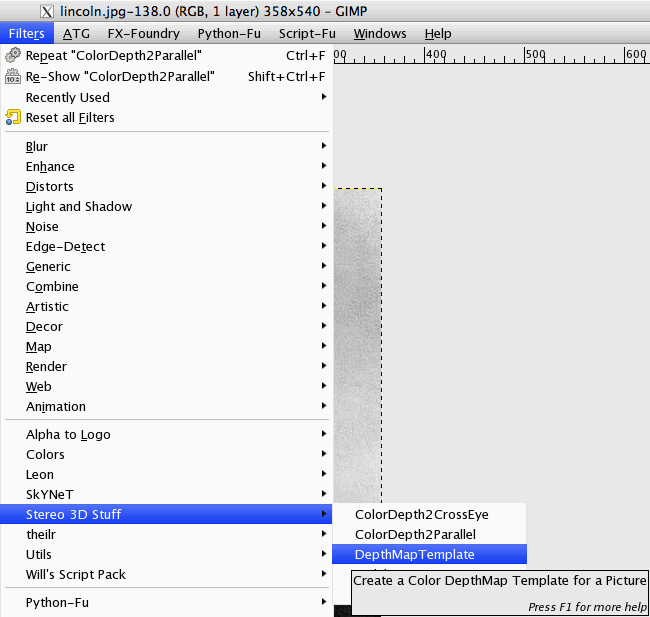
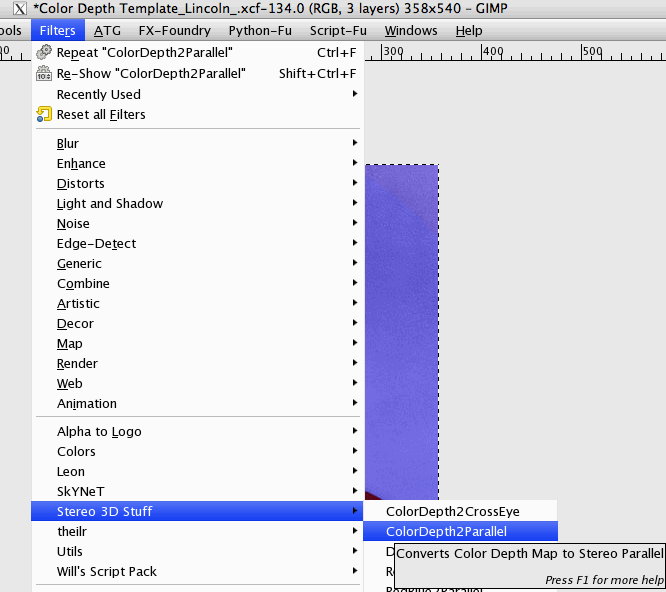
The script files are located here. Provided one has read up enough on Gimp to know how to install script files, the 3D scripts will be found in the menu here.
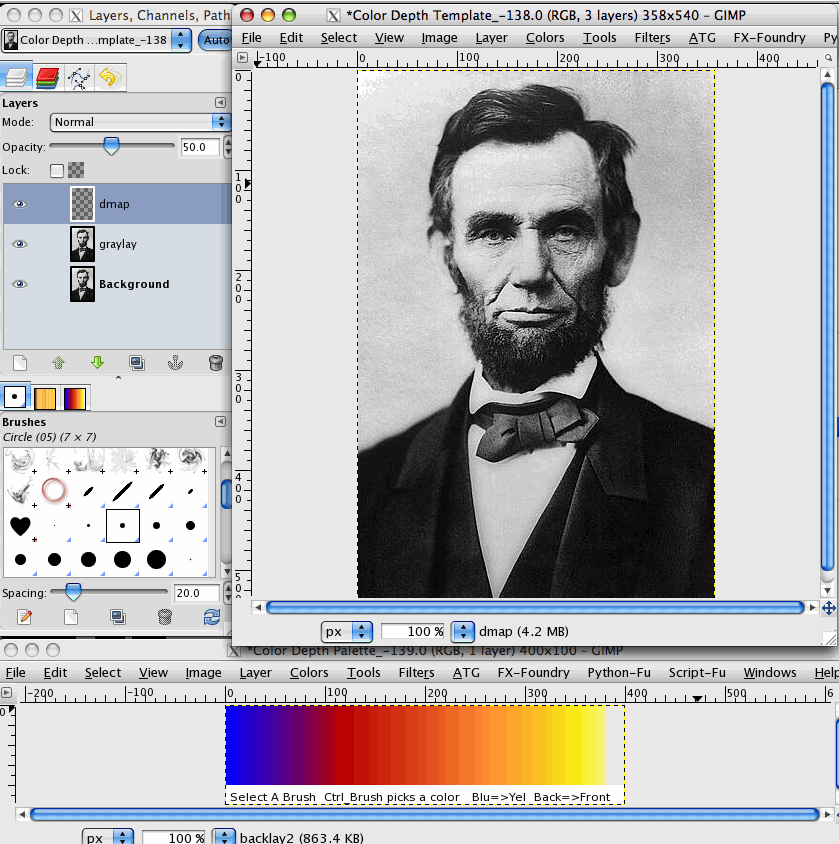
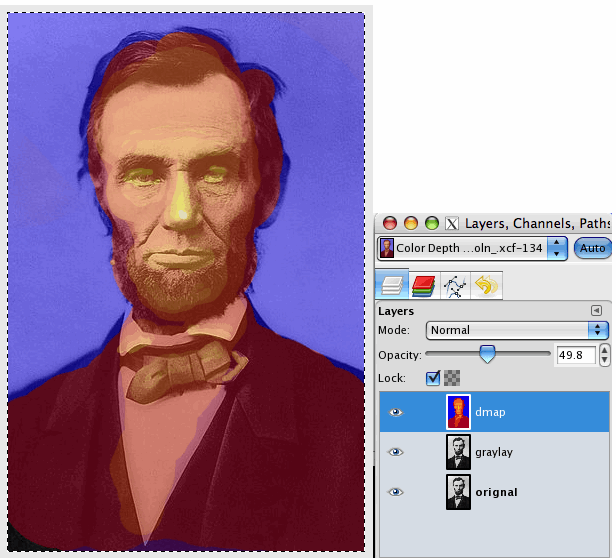
Three items are added to the original image. First a gray scale copy is added above the original. Second, a transparent depth map layer is added above that. Third, a Brightness scaled color depth palette is provided which enables depths to be painted as colors over a black and white image.
Select your favorite paint brush. This paint brush cannot paint in the color palette. But the color of the palette can be picked up by the paint brush when the control key is pressed. After selecting a color, it can be painted on the depth map layer.
The depth map for Lincoln shown below could have been done better. But this example shows what kind of impact various details have on the output image. This depth map file can be saved and opened and modified at any time.
All during the painting process, the map can be converted to a stereo image without saving at any time.
For now, the image on the right is getting adjusted by the depth map for the parallel output image.
The original image is always unchanged and is at the bottom layer. So color images work just as well.
credits: Don Sauer -
www.idea2ic.com